介紹如何在 Windows 中安裝 Jupyter Notebook Python 程式開發環境。
Step 1
開啟 Windows 的「命令提示字元」,使用
pip 直接安裝 Jupyter:
pip install jupyter

Step 2
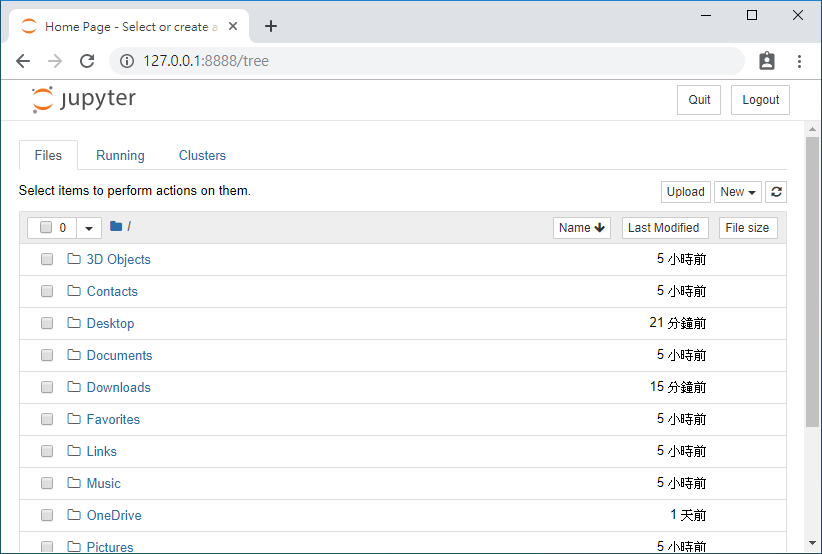
安裝完成後,即可在命令提示字元中馬上執行以下指令啟動 Jupyter,啟動後會自動開啟瀏覽器,進入 Jupyter 環境:
jupyter notebook

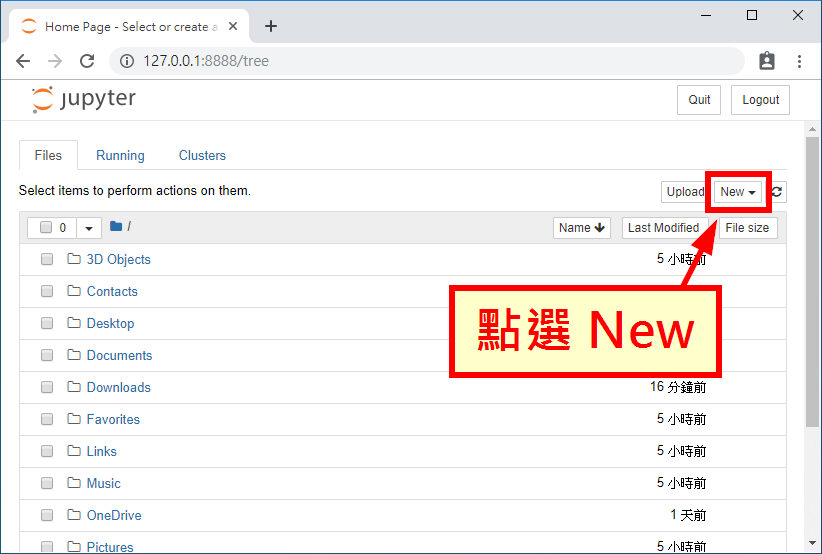
進入 Jupyter 環境之後,首先點選「New」。

Step 4
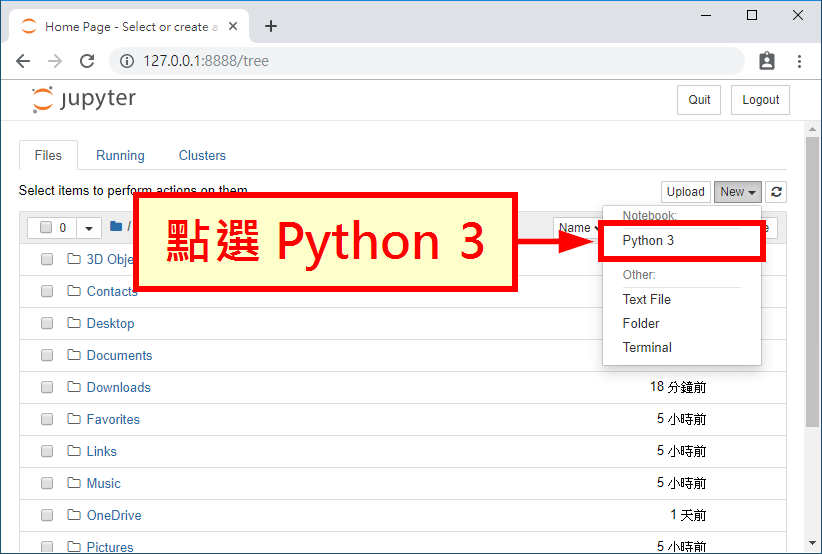
點選「Python 3」新增一份 Notebook。

Step 5
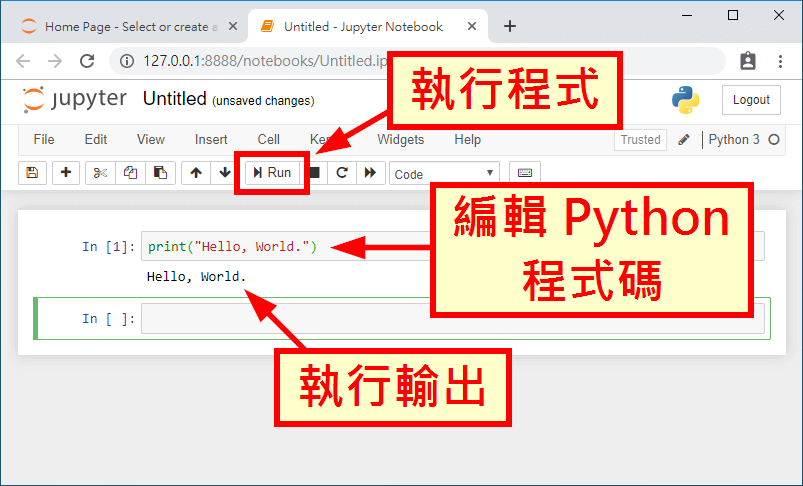
在 Notebook 中可以直接編輯與執行 Python 程式碼,並且查看輸出。


