介紹如何在 Python 中使用 SimpleITK 將一張影像貼在另外一張影像中。
SimpleITK 的
Paste 函數可以將一張影像貼在另外一張影像中指定的位置,將原本的影像蓋過去。
在影像對準的應用中,我們可以利用這樣的方式擴展基準影像的邊界,方便進行後續的影像對準工作。
原始影像
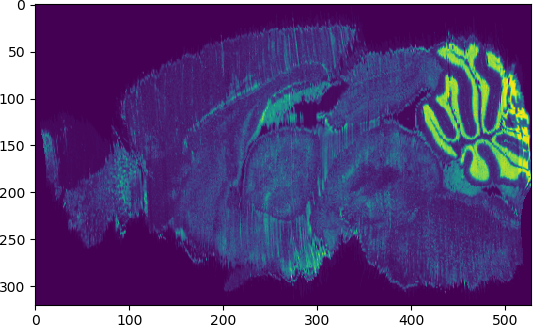
這裡我們以 Allen Mouse Brain Atlas 老鼠標準腦的影像為範例,先讀取原始影像,並檢查其影像切面。
import SimpleITK as sitk
import matplotlib.pyplot as plt

# 讀取 Allen Mouse Brain Atlas 影像
image = sitk.ReadImage("atlasVolume/atlasVolume.mhd")

# 轉為 NumPy 陣列
nda = sitk.GetArrayViewFromImage(image)

# 顯示影像切面
z_index = 228
slice = nda[z_index,:,:]
plt.imshow(slice)
plt.show()

從切面上可以看到影像內容非常貼近邊界,接下來我們要加寬影像周圍的邊界。
貼上影像
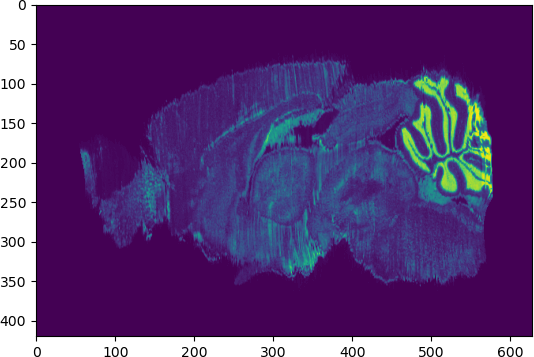
加寬影像周圍邊界的方法就是另外新增一張比較大的空白影像,然後將原始影像貼在新影像的正中央。
# 取得原始影像大小
imageSize = image.GetSize()

# 增添空白框邊
padding = 50

# 建立空白影像
expand = sitk.Image(imageSize[0] + padding * 2,
                    imageSize[1] + padding * 2,
                    imageSize[2] + padding * 2,
                    sitk.sitkUInt8)

# 貼上原始影像
result = sitk.Paste(expand, image, imageSize, (0, 0, 0), (padding, padding, padding))

# 轉為 NumPy 陣列
nda = sitk.GetArrayViewFromImage(result)

# 顯示影像切面
slice = nda[z_index + padding,:,:]
plt.imshow(slice)
plt.show()

這樣就完成加寬影像邊界的動作了,接著設定好影像的 voxel size 與位置,即可儲存影像。
# 設定 Voxel Size
result.SetSpacing(image.GetSpacing())

# 儲存影像
sitk.WriteImage(result, "atlasVolume/atlasVolume_expand50.mhd")

