介紹如何在 Windows 10 上下載並安裝免費的 MariaDB 資料庫。
Windows 安裝 MariaDB 資料庫
MariaDB 是一個相容於 MySQL 的開放原始碼資料庫,絕大部分的 MySQL 資料庫應用都可以直接以 MariaDB 取代,以下是在 Windows 10 中安裝 MariaDB 的過程。
Step 1
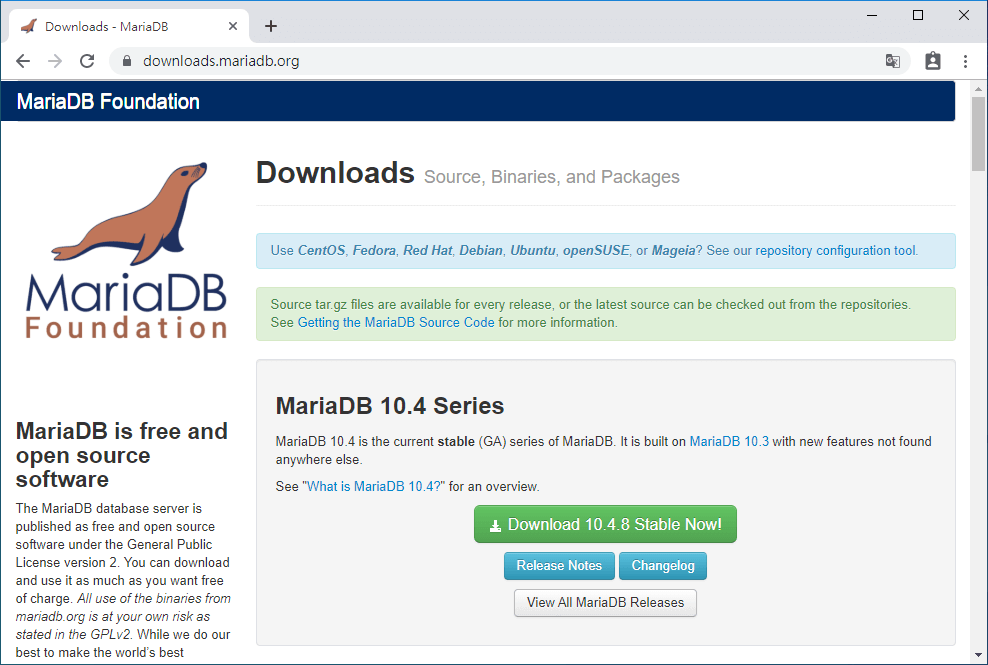
開啟 MariaDB 官方網頁,選擇要安裝的 MariaDB 資料庫版本。
Step 2
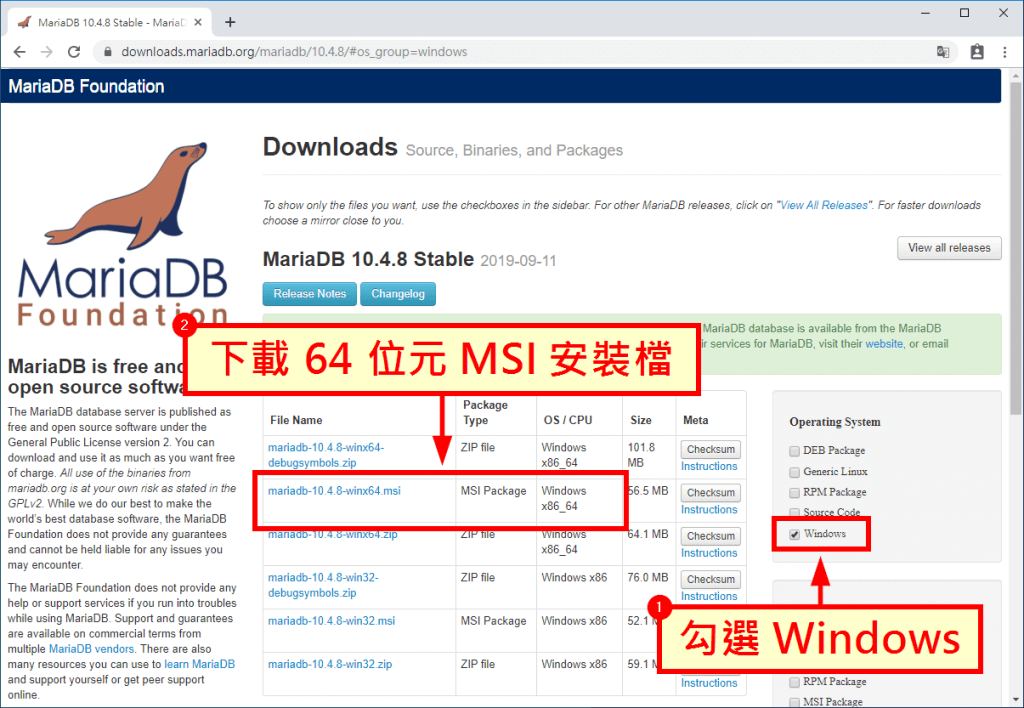
勾選「Windows」作業系統,然後選擇 64 位元的 MSI 安裝檔。
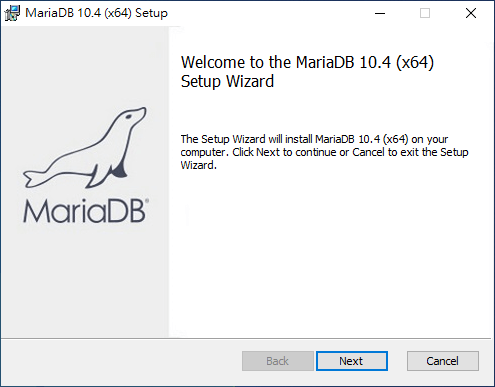
直接執行下載的安裝檔,開始進行 MariaDB 資料庫的安裝。
Step 4
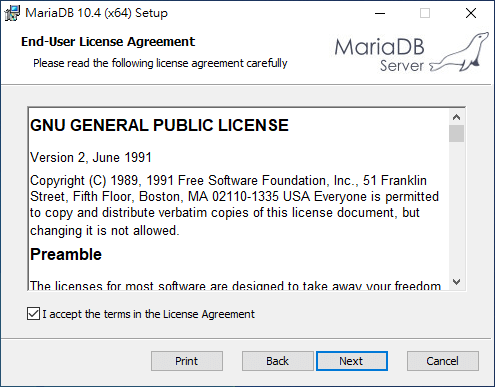
這是 GNU GPL 開放原始碼授權條款,點選「I accept …」之後按下「Next」。
Step 5
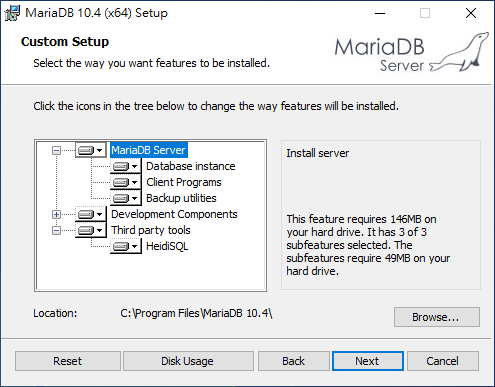
選擇要安裝的原件,若無特殊需求就使用預設值即可。
Step 6
設定 MariaDB 資料庫的 root 管理者密碼,如果需要從遠端以 root 進入資料庫,則可將「Enable access from remote machines for ‘root’ user」打勾(一般是不需要)。
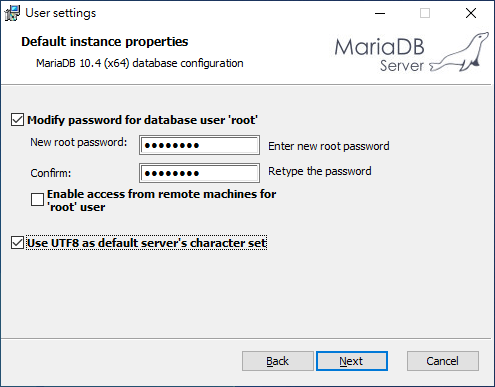
若時常處理 UTF8 的資料,可以將下方的「Use UTF8 as default server’s character set」打勾,讓系統預設的編碼就是 UTF8。
Step 7
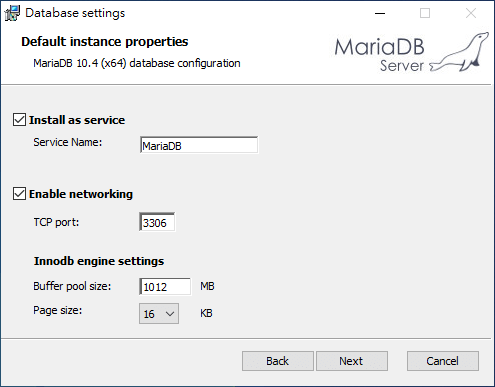
設定 MariaDB 伺服器服務的系統參數,這部分通常也不用更改,使用預設值即可。
Step 8
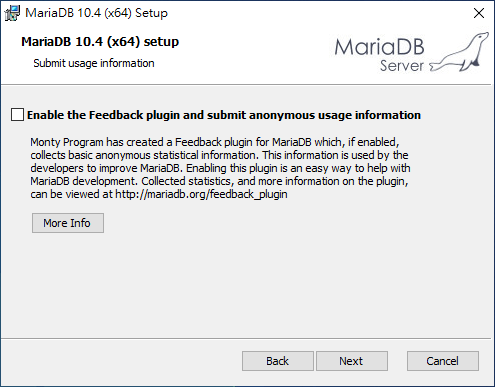
這是詢問是否要將系統的統計資訊回饋給 MariaDB 的開發者,協助 MariaDB 的發展,若想回饋開發者,就把這個選項打勾。
Step 9
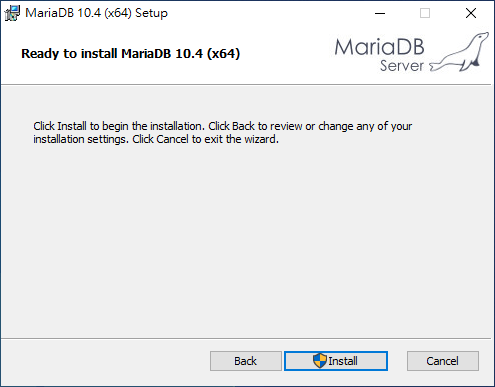
確認所有設定都正確之後,按下「Install」正式進行安裝。
Step 10
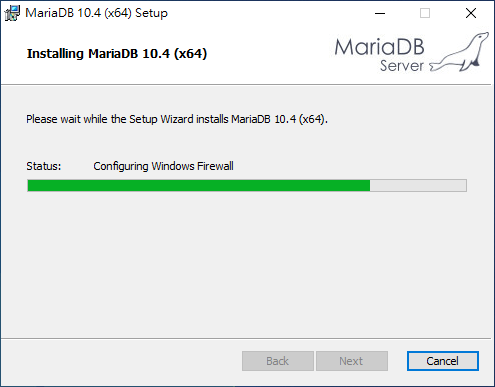
等待安裝過程。
Step 11
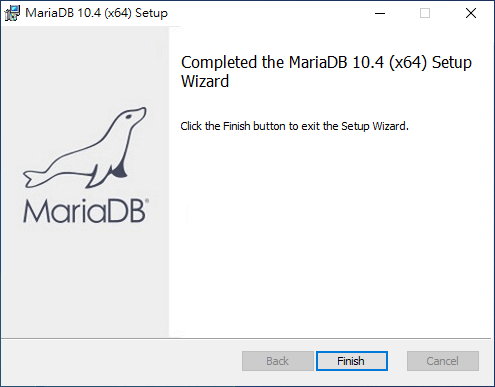
安裝完成,點選「Finish」關閉安裝視窗。
Step 12
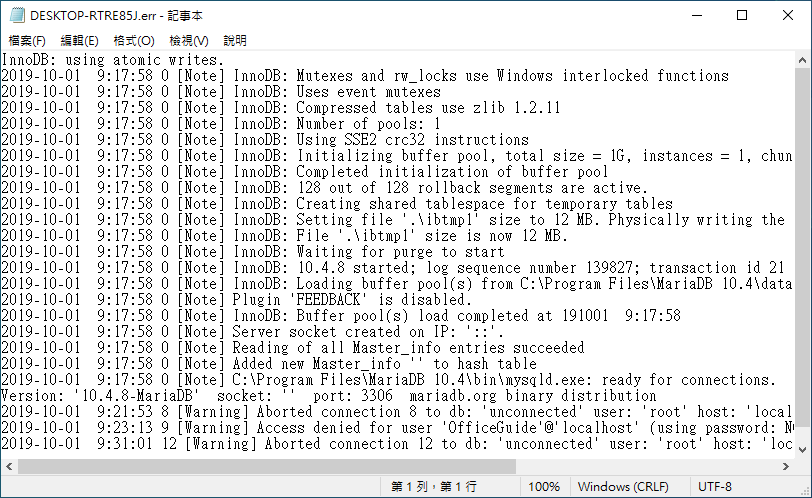
在安裝完成後,MariaDB 伺服器會自動啟動,若要使用 MariaDB 資料庫,可從 Windows 主選單中,找到剛安裝的 MariaDB 目錄,使用 HeidiSQL 資料庫管理工具,或是最傳統的 MySQL Client 指令介面來操作。另外 Error Log 可以用來查看 MariaDB 伺服器的錯誤訊息。
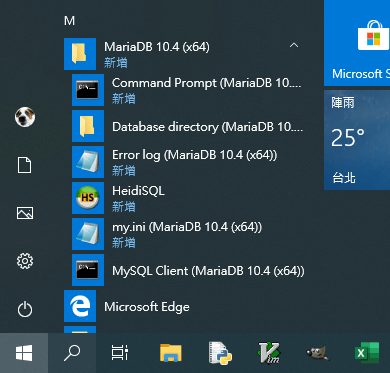
HeidiSQL 資料庫管理工具
HeidiSQL 是一套免費的資料庫管理工具,開啟時先新增資料庫的設定,輸入 root 的密碼,其餘用預設值即可,點選「保存」後再點選「打開」。
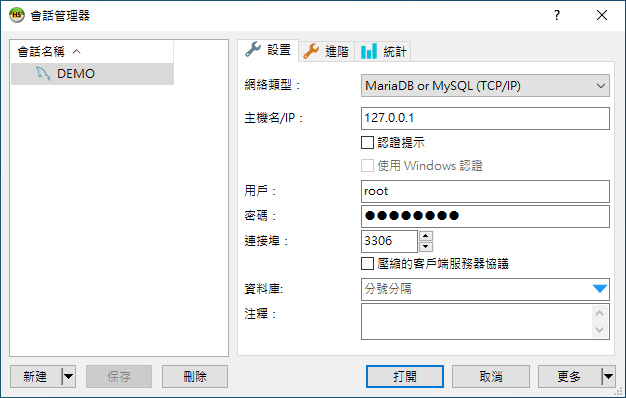
這樣就可以連線至剛剛裝好的 MariaDB 資料庫中了。
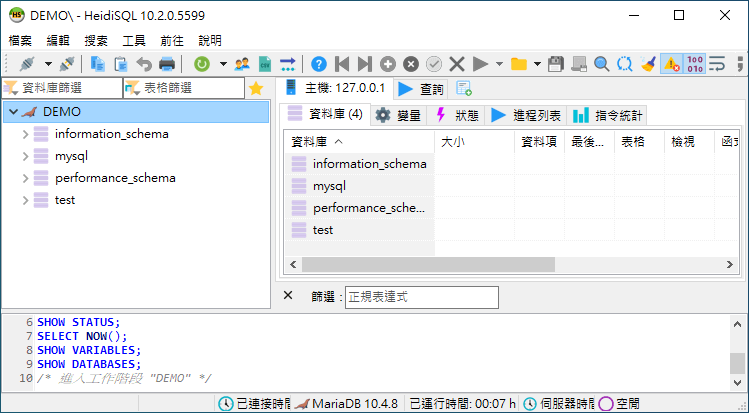
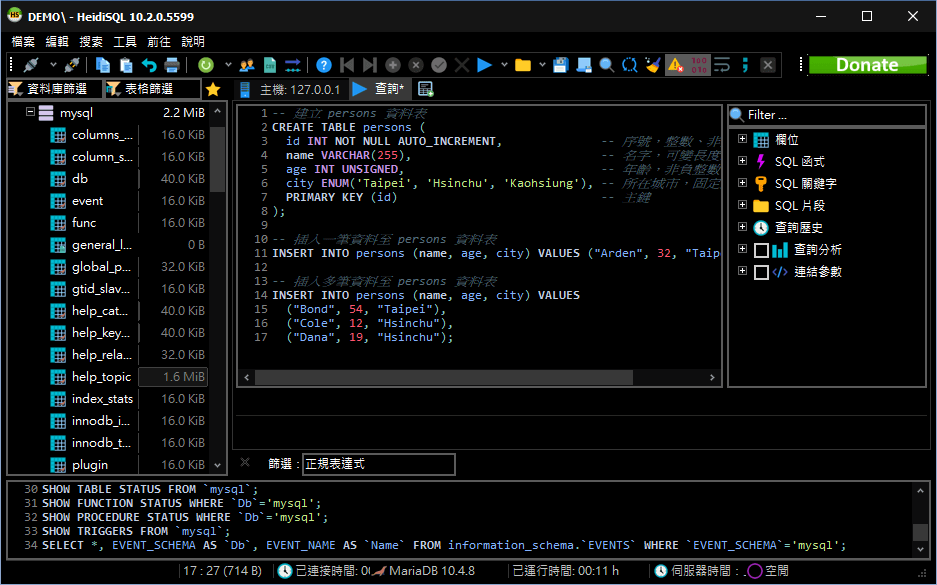
HeidiSQL 的功能很齊全,可以進行各種資料庫管理操作,也可以自訂配色,是一個很方便的工具。
MySQL Client 指令介面
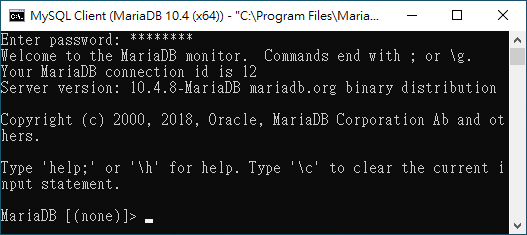
除了 HeidiSQL 之外,亦可使用最傳統的 MySQL Client 指令介面來操作與管理 MariaDB 資料庫。
Error Log 記錄檔
在 Error Log 中則可查看 MariaDB 伺服器的運行記錄,若資料庫有任何問題,都可以在這裡查看錯誤訊息。
